Work In Progress Of The Goblin King From The Hobbit Miniatures Game
The Goblin King model is a Games Workshop miniature from The Hobbit: Escape From Goblin Town - Limited Edition core box starter set with everything you need to start playing the Middle Earth Battle Strategy game set in The Lord Of The Rings universe.
Painting The Goblin King
Some highlights of my work in progress of painting the Goblin King can be seen below.
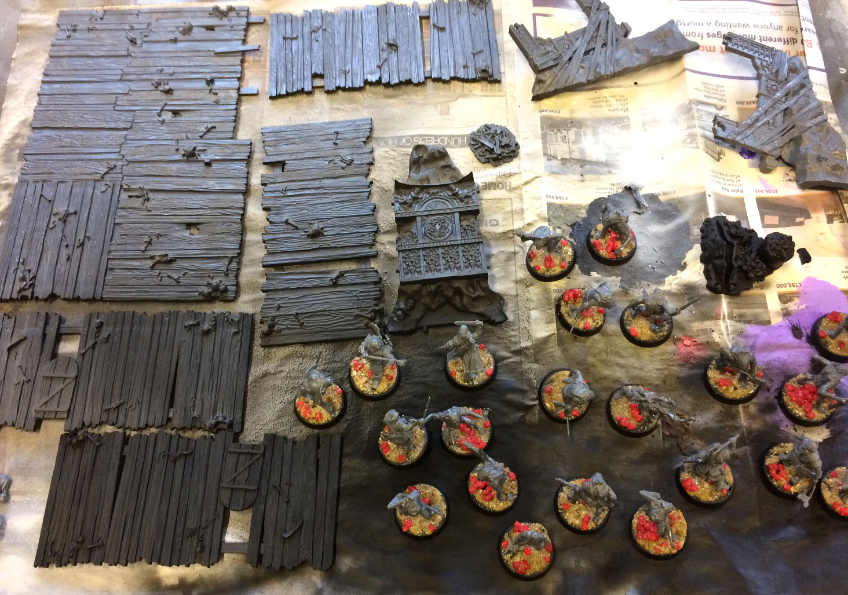
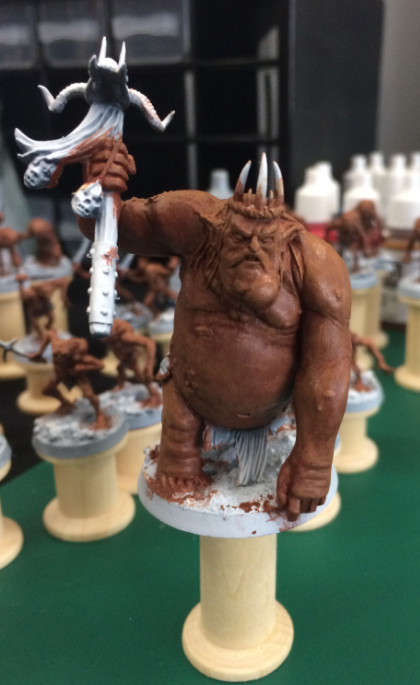
The whole set was already assembled and glued into the bases. For the Goblin King, I added some epoxy putty into the wide gaps. For the sides, I sanded and smoothed the putty, but I left it rugged on the top of the arm and under the armpits because I thought it gave a little more texture to the skin like it would flake off from being dry and infected.
For the base, I added sand and glue with some tiny red rocks trying to keep it neat around the feet of the model.
I used an airbrush to spray primer using zenithal highlighting. This means two coats of black to cover the model, a grey colour at roughly 45 degrees then a white colour directly overhead. It gives a great guide for finding the natural highlights on the miniature.
I applied a brown with a touch of red as a base coat. At this point, I was still deciding what colour to use to follow the box art or the still from the film.
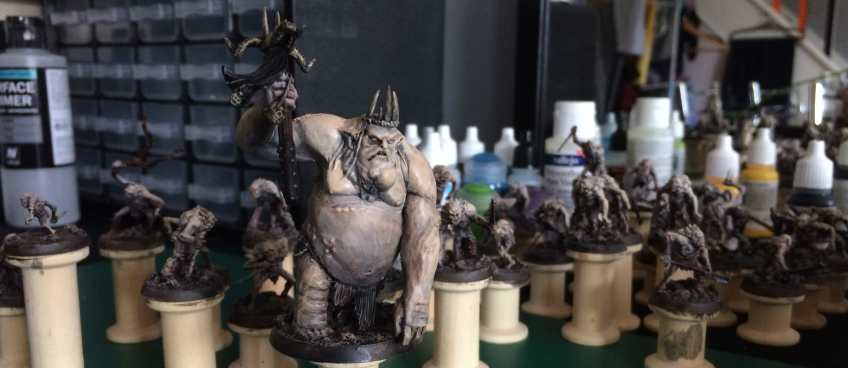
A little bit of dry brushing by adding a bit of cream into the brown colour. I still wasn't happy with the tone so I added a wash of nuln oil shade over the top to see what that would do. I think it pushed the dark areas to a better place but definitely made me think these were still too dark.

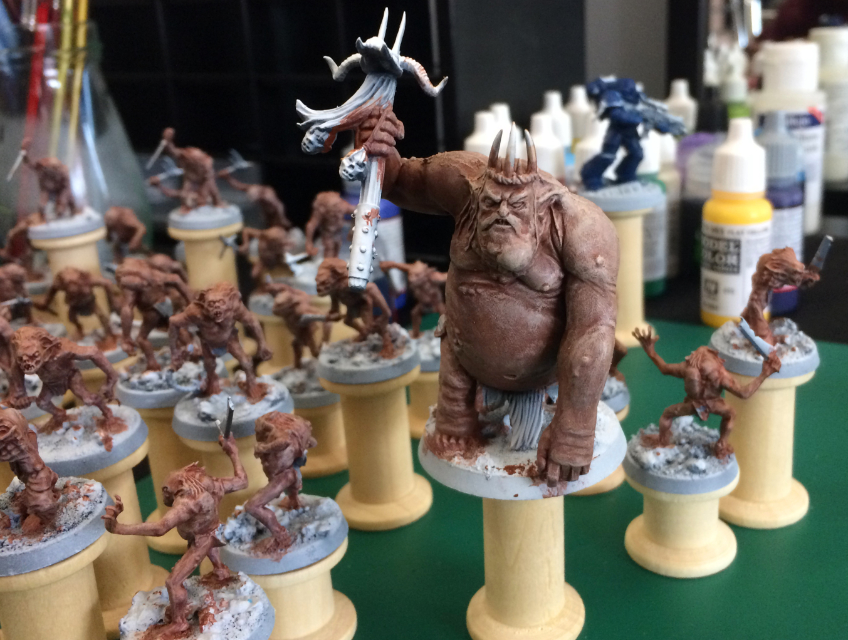
After picking out some of the details with a creamy tone I decided to start glazing and wet blending using a purple colour for the shadows.
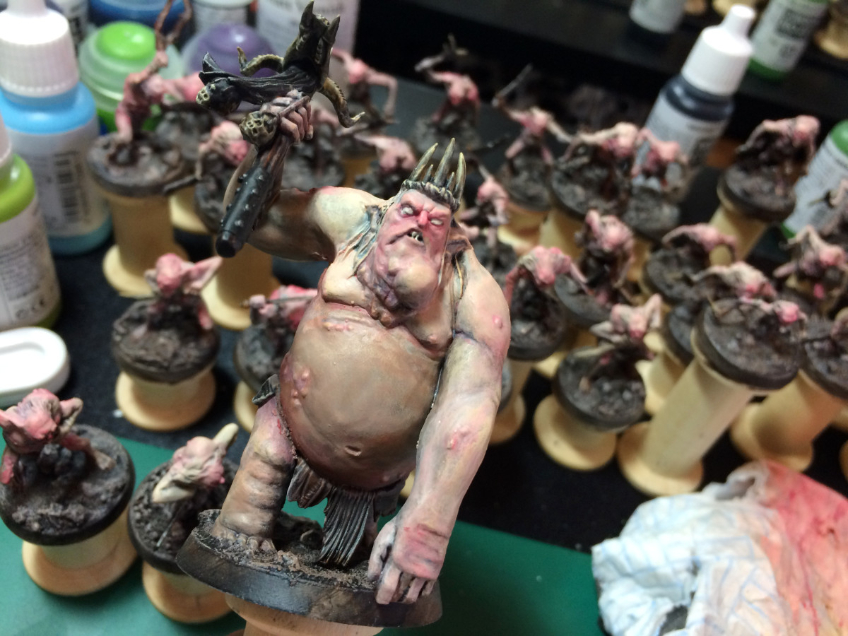
I continued to brighten the pallet to a lighter tone and mixed in a red to add more colours. I also started to do some blue lines to make it look like you can see veins under the skin. These Goblins live underground so it would make sense they would have pale thin skin.
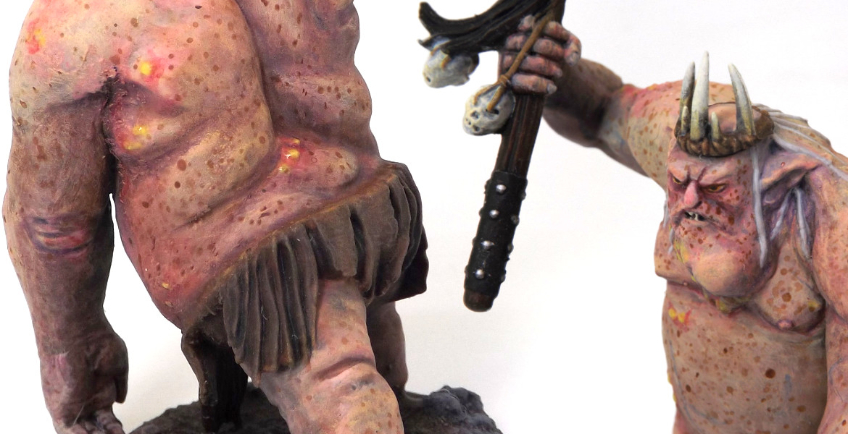
When I relaxed a little bit by expanding the colours I was using I added red colours on the sores and bright lemon yellow on the puss to make them pop on the model. When these are being played on the table I think they need to jump out a little instead of blending into the scenery.
I painted the bone on the stick and the crown using the light brown colour, then a wash with nuln oil shade and to finish, dry brushing the tips and overhead light with a creamy white.
To finish the base I used a neutral brown colour with a bit of dry brushing with a lighter colour. For the stones I used a grey colour with nuln oil over the top picking out the crevasses, highlighting by dry brushed lighter grey which stops them blending too much into the dirty floor.
Painting the rim of the base ochre colour paint colour makes them stand out as separate pieces. I was originally thinking about using the brown on the base to extend the scenery but I thought it would make it look too boring.
I gave the miniature two coats of matt varnish using my airbrush. Once dry I added some gloss varnish to the puss areas to make them stand out when they are on the tabletop.
To see a Gallery of fully painted close up pictures click here.
You can commission me to paint your miniatures, just send me an email with your requirements.


