Make Drawing easier with Procreate Artist Pressure Settings
Changing the pressure graph to my settings in Procreate from the default setting can make your pen tips last longer and stop you damaging the screen.
There are two ways to change the pressure of your stylus. An overall pressure and on each brush.
Procreate Pressure on a Brush
To change the pressure settings on a particular brush, you will need to go into the brush studio, ‘Apple Pencil’ settings and use the sliders to change what the pressure does. Fantastic if you only use a certain brush for inking and really want to refine the pressure.
Procreate Pressure Sensitivity Graph for the Stylus
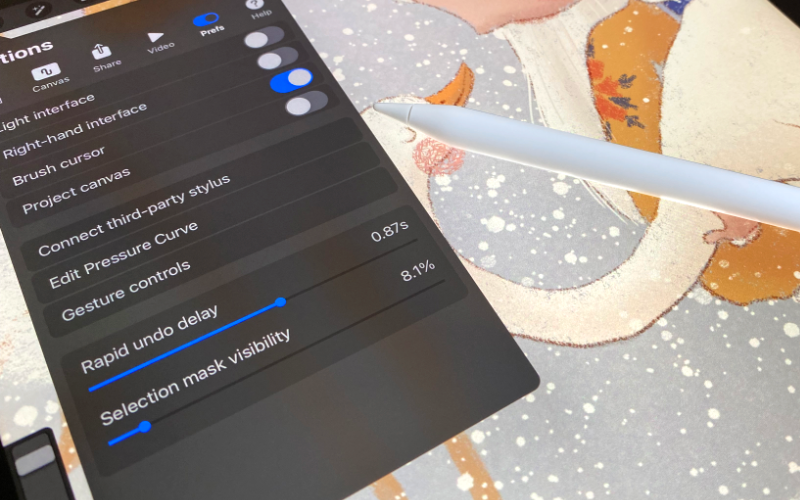
For a global change, you can find the pressure settings that effect every brush on the menu, under Actions, Preferences and Edit Pressure Curve.

The default pressure graph is linear from the bottom to the top. It allows even pressure from the lightest touch to heavy pressure.
I like the change the ramping up of the pressure so it’s a curve. This allows you to use a lighter touch to make the heavy marks with the pencil. It took me a little while to get used to, but I find I can draw for longer without my hand getting tired because I’m not pressing as hard to make the big strokes.

You can experiment with creating your own pressure profile and figure out what’s most comfortable for you. If you are drawing, I’d recommend a curve like mine and holding the pencil loosely and move your elbow to capture flowing strokes on the canvas.

